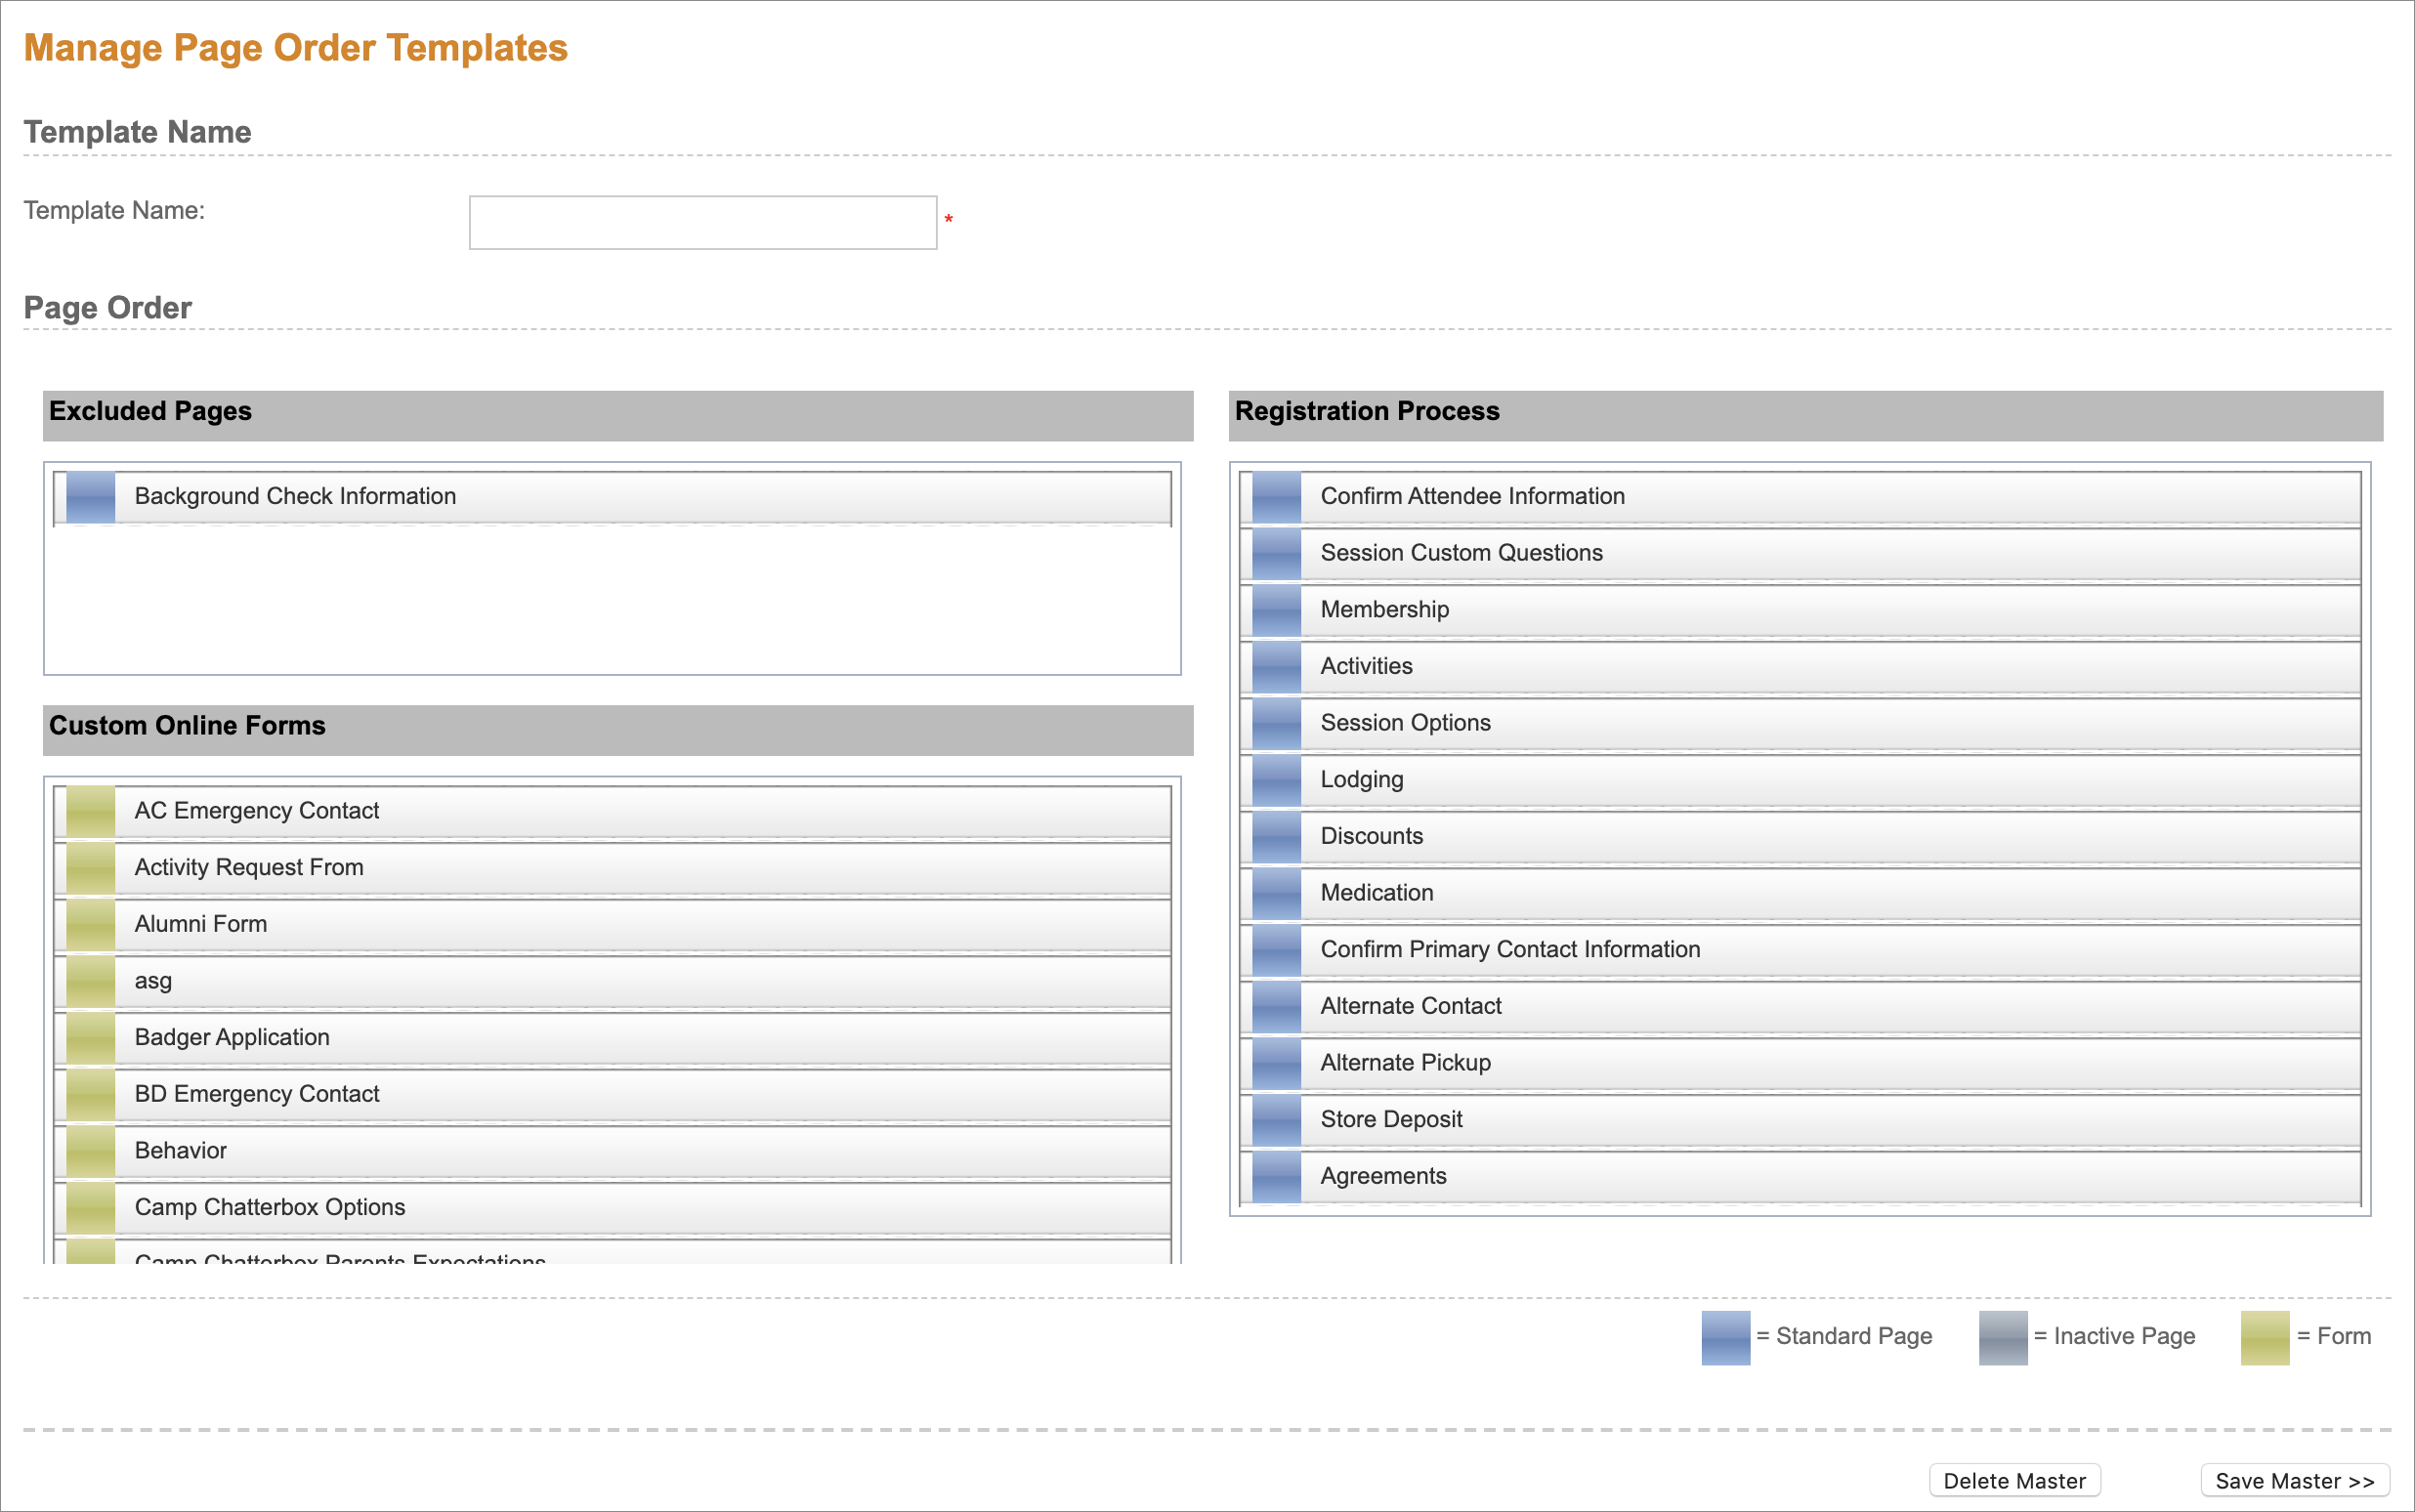
A variety of settings that allow customization for the registration process.
To setup Registration Information:
-
- Go to Settings menu.
- Expand Session Templates section.
- Click on Session Templates.
- Create a New Session Template or edit an existing template using the edit icon to the right of the desired template.
- Once in the wizard, you may need to click the "Begin" button in order to proceed to this page.* Otherwise, you will be taken there directly.
*Note: if you previously clicked "Do not display this page to me again", you will not see that page. - In the left menu, click on Registration Information.
Tip
If Display Fast Track Transition is enabled under Advanced Settings, a person who is registering for multiple sessions at once will see a page indicating that the next session's registration has begun. This will occur between each session's registration.
If disabled, they will not see the extra page and will continue through the registration process for all the sessions selected.
Page Order Template
This is an optional area to determine when and what a client encounters in the registration process. Page Order Templates are created in the Settings menu and attached or disabled here at any time.
To create a Page Order Master:
-
- Go to Settings menu.
- Click on Session Templates.
- Select Page Order Templates, attach or disable here at any time.
-
-
- If enabled here, it is a Fixed Setting and will therefore be true for all sessions scheduled from this template.
- Customize the registration experience by adjusting the “Page Order” for registration.
- This order can be set for all sessions created from this template with a Page Order Master or on an individual session level later (in the Session Editing Wizard).
-

Preventing Overlapping Reservations
Prevent clients from registering for multiple sessions which occur within the same date range or overlap.
- Selecting Prevent Overlapping Reservations can prevent clients from double-booking themselves.
Tip
This feature can be used to prevent double-booking for recurring daily programs—like summer enrichment classes—by setting a Daily Start Time and Daily End Time on the individual session or event.
Collect Store Money
UltraCamp can collect money during checkout for a store or “canteen” at your location. This allows parents to deposit money electronically so that their child’s purchases can be made in person without the child carrying cash.
- Check the Collect Store Money box to permit the client to add this money electronically prior to checkout.
Two options for managing Store Money:
-
- Collect the money at checkout, then track purchases and refund this money as necessary outside of our database.
- Use the integrated Point-of-Sale system.
-
-
- The Point-of-Sale system allows parents to add and track money and expenditures in real-time, gives you inventory tracking capabilities, enables electronic refunds, and much more.
-
If you are interested in using the integrated Point-of-Sale system, feel free to contact us at 888-791-2080 for more information.
One-Way Email
If you’ve enabled the One-way Email feature in My Settings, you can check this box to engage that feature for sessions scheduled from this template.
Donations by Session
If enabled, Donations can be set to appear before checkout.
- Based on your database settings, you can either have all donation options display prior to checkout, no donations display prior to checkout, or specific donations display prior to checkout.
- The Donations page will only show once prior to checkout for each time the client logs into their account, even if multiple sessions are selected.
In the My Settings wizard, you can determine whether or not to prompt for all Donation Categories to display prior to checkout.
- If you choose not to do this, you will have the option in the Session Editing wizard to have specific categories display or no categories at all. This is determined by checking off the appropriate boxes.
Comments
Please sign in to leave a comment.